


In this article, we would be creating 3 EC2 instances, one would act as controller node and other 2 will act as a target node/host. This, will give an idea of how Ansible works.

Prerequisite:
· An AWS account
· Download PuTTY
Creating 3 EC2 Instances on AWS Cloud.
First, will log into AWS console account.
Select EC2 → Instances → Launch Instance
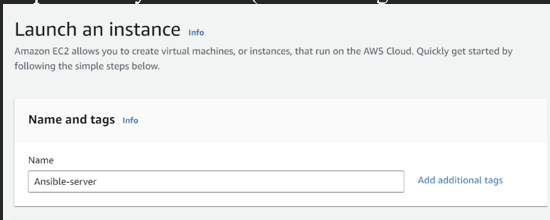
Step1: Name your server (Here I have given Ansible-server)
Step2: Select OS Image (I am selecting Amazon Linux 2)

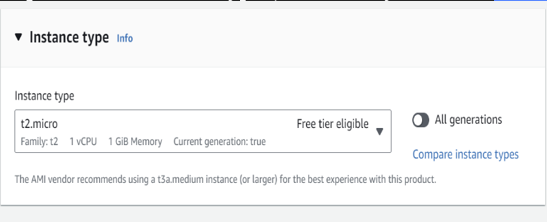
Step3: Select Instance Type (Make sure you select t2.micro, as it is included in free tier)
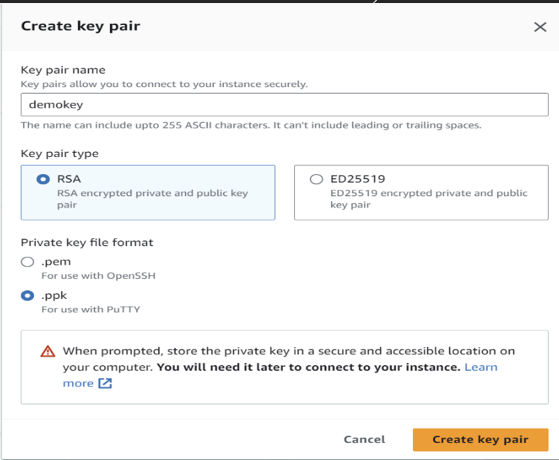
Step4: Create a key pair, select on create new key pair (Make sure you select .ppk as we are using PuTTY to connect to our EC2 Instance)
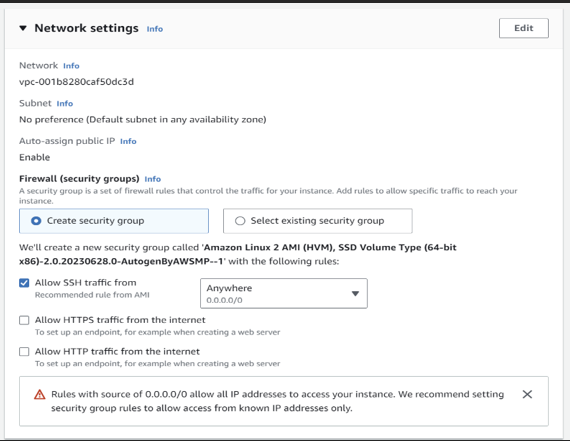
Step5: Create Security Group
Step6: Other configuration can remain on it’s default setting, no need to change as of now. And lastly, click on button that says Launch Instance
In similar way create other 2 instances and name them as target1 and target2. Make sure all Instances are in running state.

Once we created and launched EC2 Instance we can connect it to our computer using Secure Shell (SSH) protocol. PuTTY is a free SSH client that allows you to do this from our local computer running windows. Once the connection is established successfully, you can run the EC2 instance just as we would be using local computer running Linux.
Steps to connect to EC2 Instance using PuTTY
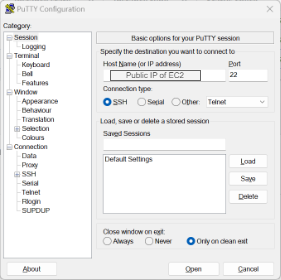
Step1: Open PuTTY
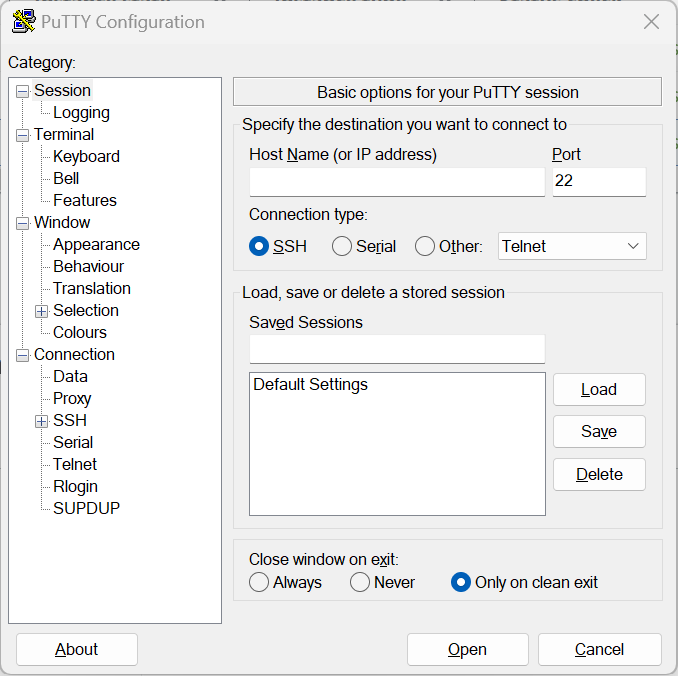
Step2: Enter Public IP as the the Host Name(or IP address)
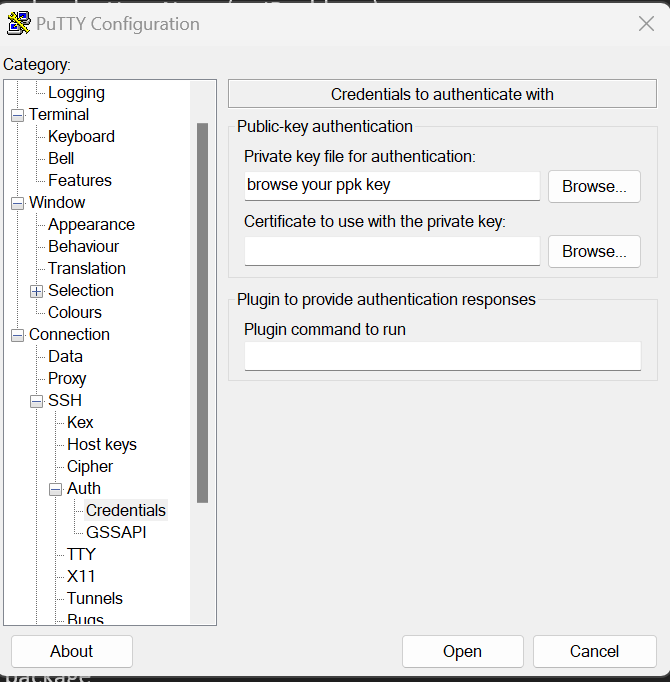
Step3: Go to SSH → Auth → Credentials
Select/Browse private key for authentication i.e. your .ppk key that we created while creating EC2 instance.
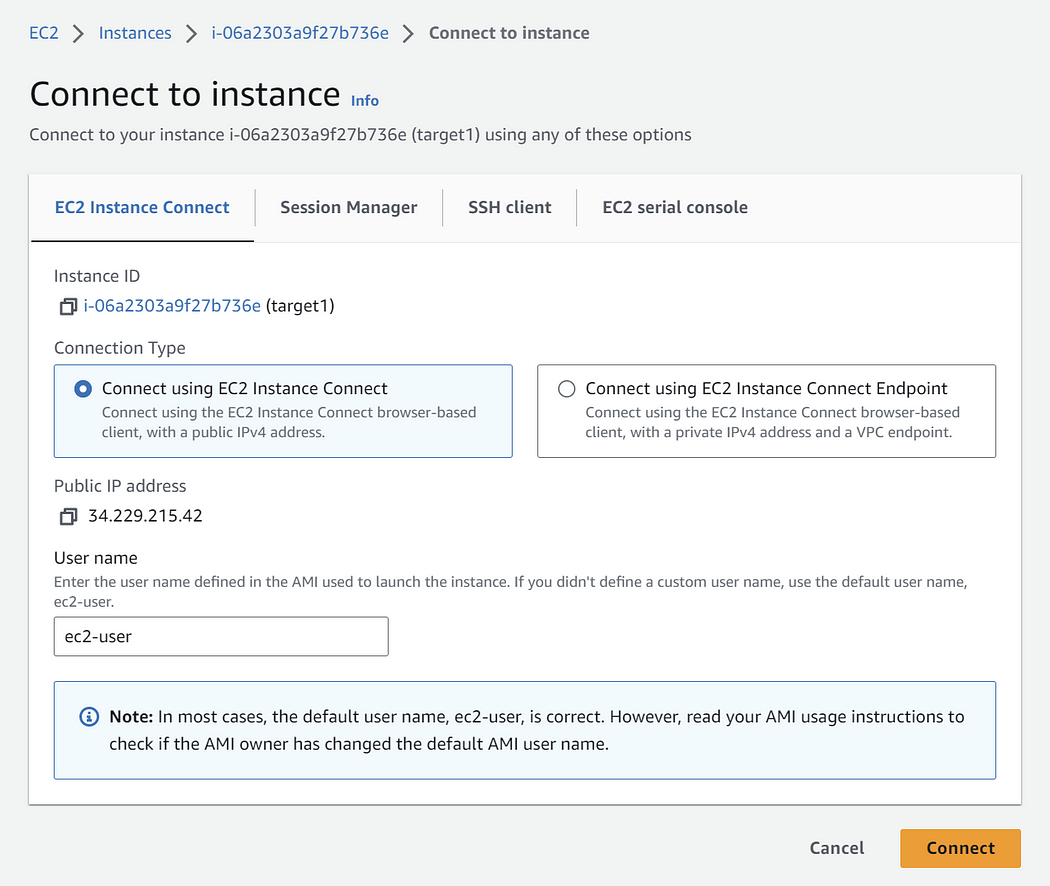
Step4: Press Open button and then it will ask for login as, where you will enter ec2-user. So you are logged in as ec2-user.
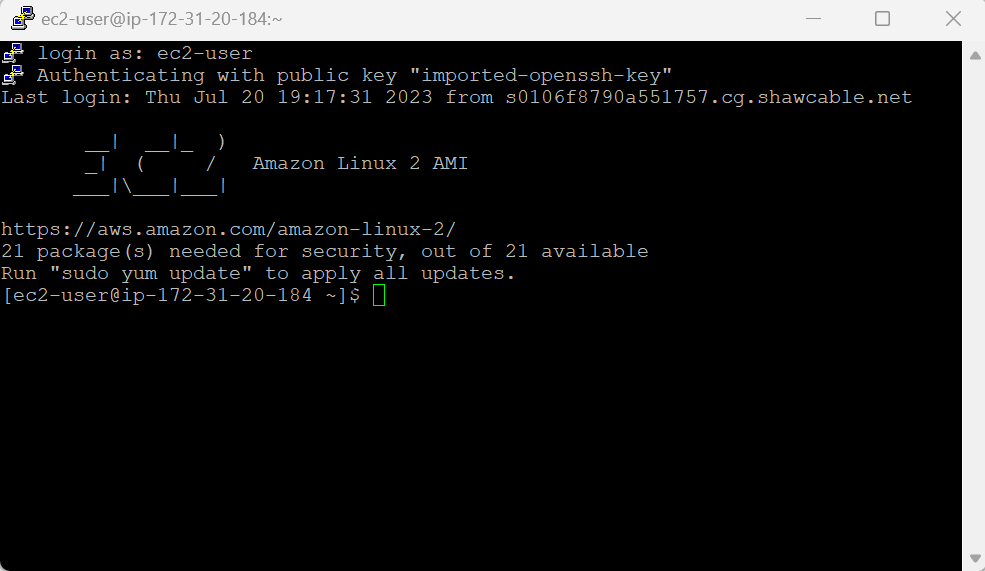
To check the username of your EC2 Instance you can click on connect button that you can see on Instances page.
Installing Ansible on AWS Amazon Linux 2 instance on Control Machine/Node
Step 1: Update system package
sudo yum -y update
Step 2: Enable the ansible2 repo
sudo amazon-linux-extras enable ansible2
Step 3: Install Ansible
sudo yum install -y ansible
Step 4:
ansible –version
Once, ansible is installed
Go to /etc/ansible/hosts file i.e. vi /etc/ansible/hosts → THIS IS AN DEFAULT INVENTORY FILE
Add both the target machines private IP like this, so that ansible server has the information about it’s target machines.
[demo] (demo is a group, in ansible group is represented by [] )
<private IP of target machine 1>
<private IP of target machine 2>
Host file will only work after you update some configuration in ansible.cfg file
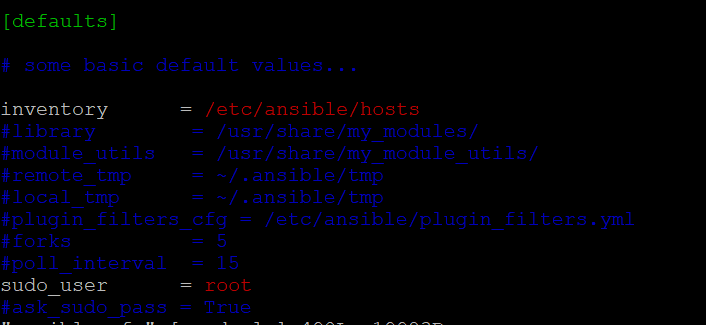
vi etc/ansible/ansible.cfg
edit the file as follow:
uncomment following lines
inventory = /etc/ansible/hosts
sudo_user = root
Creating a user ansible, who will perform the task.
(Do it on Ansible control machine and on both the target machines too)
sudo su
adduser ansible ( adduser <username> )
passwd ansible ( passwd <username> )
Will prompt to enter a password, enter the password (remember it). Let’s assume the password is passwd.
Now you have successfully created a user ‘ansible’ with password ‘passwd’.
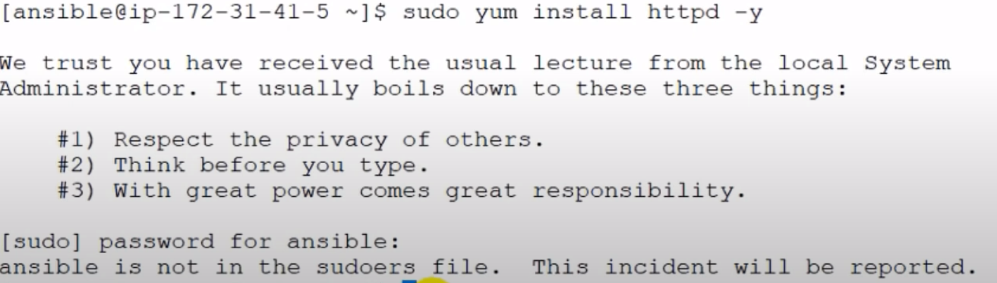
But when you try to install some package/software with sudo privilege, it will give you an error, that user ansible is not in the sudoers file.
Try: sudo yum install -y httpd
To add the ansible in sudoers file, type the following command
visudo
It will open the file, then under the Allow root to run any commands anywhere, Add ansible so that the user ansible can have sudo rights.

Now again try sudo yum install -y httpd, it will start installing now…
Checking the SSH connectivity between my control machine and target machines:
(Perform the following task on both control and target machine)
Step 1: Make sure you are logged in as ansible user for all the target machines and a control machine.
If not, type: su — ansible
Step 2: ssh to the target machine from controller machine.
Controller machine: ssh < target machine private IP >
It will give an error mentioned below

So to resolve it, first switch to the root user (sudo su)
Then, type the following command
vi /etc/ssh/sshd_config
Make three changes in the files
1. Uncomment PermitRootLogin yes
2. Uncomment PasswordAuthentication yes
3. Comment out PasswordAuthentication no
Save changes and quit :wq
service sshd restart
Now, switch to the ansible user on all 3 nodes.
From control machine try: ssh <Private IP of target machine>
It will ask for password: Enter password i.e passwd (As we set up earlier while creating user ‘ansible’ )
After this, you are successfully logged into targetmachine.
The problem with this approach is that every time you do ssh, it will ask for a password. So, to avoid entering password everytime , we will set up passwordless authentication.
Step 1: ssh key-gen
It will generate 2 keys. i.e. Public key and private key
Step 2: you can check this 2 key under .ssh directory (do ls -a)
Step 3: Copy public key on both the target machines
cd .ssh
ssh-copy-id username@<private ip of target machine> (In our case username is ansible)
It will ask for password: Enter the password i.e. passwd (This is the only time it will ask for password)
Step 4: Now to verify
Do, control machine: $ ssh <private ip of target machine>
It will log into the target machine without prompting for password.
Try using some commands
To list the target hosts from control machine:
ansible all –list-hosts
ssh from control node to target1 machine and create a file, you will be able to see that file created og target1 machine.
Control machine:$ touch file1
ansible-config list # list all configuration
ansible-config view # Shows the current config file
ansible-config dump # Shows the current setting
Running ad-hoc commands:
ansible all -a “uname -a” # it will run uname -a on all nodes
ansible target1 -m apt -a “name=vim” # -m is for module , it will install package vim on target1
Running playbook:
To run a playbook and execute all the tasks defined within it, use following command
ansible-playbook myplaybook.yml
Thank you to all the readers who took the time to engage with my article. Your support and encouragement inspire me to keep writing and sharing more content.